Opam 103: Bootstrapping a New OCaml Project with opam
Curious about the origins of opam?
Check out this short history on its evolution as the de facto package manager and environment manager for OCaml.
Welcome back to the opam deep-dives series!
Finally - you've asked for it since our very first opam deep-dive: it's time to
explore the developer side of the opam experience.
So far, we have focused on user-facing scenarios to provide a gentle introduction. Now, we are shifting gears into project creation and development workflows.
Thank you for your patience - the wait was worth it! Today, we will guide you through starting a new OCaml project with a full opam-integrated workflow. 🚀
This guide is especially geared toward newer OCaml developers who want to master opam when setting up and managing a project. 😇
If you haven't yet, we recommend starting with Opam 101: The First steps to get comfortable with installation and usage basics and Opam 102: Pinning Packages, which already dives quite deep into package pinning, one of the first keys to tailoring your workflow and environment to your exact needs.
Also, check out the
tagsof each article to get an idea of the entry level required for the smoothest read possible!
Prerequisites & Context
Our goal across this post and the next one is to guide you through the full life cycle of an OCaml project - from creating a directory on your machine to publishing your package to the official opam-repository.
We will walk through each step of the journey, highlighting not just how to do
things, but also why they matter in a pragmatic, real-world opam workflow.
You’ll see how to:
- Create and manage local switches
- Select and install packages
- Prepare your project for distribution
This post assumes you've read Opam 101: The First Step - especially the section on switches.
Nevertheless, here's a quick TL;DR for those of you who would rather get started:
What is an
opamswitch?An opam switch is a development environment in the OCaml world.
Opamprovides you with a command-line interface for you to customise, and maintain a safe and stable environment. It's defined by all the possible combinations and valid operations between a specific version of the OCaml compiler, and any set of versioned packages.Functionally, it is a set of environment variables that are user-updated and point to the different locations of installed versions of packages, binaries and other utilities either in a
~/.opamdirectory forglobalswitches or in the current_opamdirectory forlocalones.
In this tutorial, we'll use local switches, which are especially well-suited
for project-based workflows like the one we are building today. Furthermore,
know that this article uses opam 2.1.5!
Ready? Let's dive in!
Setting up the environment
Before publishing an OCaml package, you have to develop it - and that means setting up your environment.
This encompasses everything from creating the working directory of your new project, to setting up a custom, local switch for it.
We will consider that you have created a new directory for your project and have since moved into it in order to progress further in the setup process.
Something like:
$ mkdir helloer
$ cd helloer
Here are the things that opam will help you accomplish at this stage of the
development process:
- Setting up a new switch (i.e, environment creation);
- Explore packages (libraries / tooling) available in the OCaml ecosystem (i.e, technical exploration);
- Selection and installation of OCaml software inside a switch (i.e, environment setup and tailoring);
Creating a new local switch
A switch is the isolated environment in which opam will operate and assist
you in taking all the necessary steps towards an optimal workflow.
It defines a specific OCaml compiler version and a set of compatible packages, allowing you to safely build and manage your project.O
So let's first create a local switch in our helloer directory.
$ opam switch create .

<><> Installing new switch packages <><><><><><><><><><><><><><><><><><><><><><>
Switch invariant: ["ocaml" {>= "4.05.0"}]
We let opam select the default switch invariant when creating a new switch
which is OCaml compiler version >= 4.05.0. You can define any set of switch
invariants that you wish.
In the call above, the
.character indicates that we are askingopamto create a switch inside the current directory, a local one. This differs from a global switch, which lives in your~/.opam/folder.
What's a “switch invariant”?
The idea of switch invariants is quite simple, they are the
parameters of the automatic solving of package dependency trees. More
specifically, this switch invariant defines the OCaml version your environment
relies on. Invariants are immutable. opam will never change invariants
without notifying you first and will always consider the switch invariant constraint
when building the graph of available/compatible packages for your current
switch, or for any other switch-altering operation for that matter.
So, back to our example:
$ opam switch create .

<><> Installing new switch packages <><><><><><><><><><><><><><><><><><><><><><>
Switch invariant: ["ocaml" {>= "4.05.0"}]

<><> Processing actions <><><><><><><><><><><><><><><><><><><><><><><><><><><><>
∗ installed base-bigarray.base
∗ installed base-threads.base
∗ installed base-unix.base
∗ installed ocaml-system.4.14.1
∗ installed ocaml-config.2
∗ installed ocaml.4.14.1
Done.
We can see that opam selected ocaml-system.4.14.1 as opposed to
ocaml-base-compiler.4.14.1 as the OCaml compiler to install in your current
local switch along with its dependencies. What's the difference?
ocaml-systemis a system-bound compiler, typically one already installed on your system (e.g. viaapt,brew, etc.), outside of youropaminstallationocaml-base-compilerwould be a new compiler installed within youropaminstallation, one thatopamwould have permission over.
If you recall this
section
of Opam 101, you should know that creating a switch can be a fairly
time-consuming task depending on whether or not the compiler version you have
queried from opam is already installed somewhere on your machine. Therefore,
every time you ask opam to install a version of the compiler, it will first
scour your installation for a locally available version of that compiler to
save you the time necessary for downloading, compiling and installing a brand
new one. This is the reason why opam has selected an ocaml-system.4.14.1
compiler instead of installing a brand new ocaml-base-compiler.4.14.1.
A quick look at our current directory will show that an _opam directory can
now be found.
$ ls
_opam
And opam switch will list the currently available switches:
$ opam switch
#  switch                        compiler             description
→  /home/ocamler/dev/helloer     ocaml.4.14.1         /home/ocamler/dev/helloer
   my-switch                     ocaml-system.4.14.1  my-switch

[NOTE] Current switch has been selected based on the current directory.
       The current global system switch is my-switch.
opam indicates that it has selected the local switch as the currently active
one with the → character and then tells us that the currently active global
switch outside of this directory is still a previously created one called
my-switch.
Local switches were explained in detail in this section of
Opam 101. We learned in it thatopamautomatically selects the local switch as the currently active one as soon as we move inside the directory in which it was created.
opam list will show us what packages are currently installed in our
switch:
$ opam list
# Packages matching: installed
# Name        # Installed # Synopsis
base-bigarray base
base-threads  base
base-unix     base
ocaml         4.14.1      The OCaml compiler (virtual package)
ocaml-config  2           OCaml Switch Configuration
ocaml-system  4.14.1      The OCaml compiler (system version, from outside of opam)
Which is simply the list of dependencies of the OCaml compiler (since it is the only thing we have installed in our switch so far).
To confirm which OCaml binary is being used:
$ ocaml -vnum
4.14.1
$ which ocaml
/usr/bin/ocaml
This confirms you are using the system compiler (not an opam-installed one) as
the path does not point to either the global ~/.opam nor
/home/ocamler/dev/helloer/_opam directories.
In the case of a global switch, the following would be true:
$ ocaml -vnum
4.14.1
$ which ocaml
/home/ocamler/.config/opam/my-global-switch/bin/ocaml
To verify that everything works, and since we have a compiler, let's compile a program:
$ cat helloer.ml
let () =
  print_endline "Hello OCamlers!!"
$ ocamlc -o hello helloer.ml
$ ./hello
Hello OCamlers!!
Nice! You've just compiled your first OCaml program in a fresh local switch. 🎉
Of course, this isn't very exciting yet. Let’s spice things up by adding
external libraries to our helloer program.
Getting started
helloer is a toy project - with it we can play around with the tools at
hand and learn a thing or two about them.
However, if you're curious about the source code of the project, you can check it out right here.
Do keep in mind that this is rather remote from what you will encounter in the wild. Both the code base and the structure of the repository are made intentionally barebones. This will allow us to smoothly introduce what we believe are the most common features a beginner OCaml dev should get familiar with.
Looking for the necessary tools with opam search
One of the most valuable skills in OCaml development is selecting the right libraries for the job. Over time, you will build a mental toolbox of go-to libraries for all kinds of engineering goals.
You can explore the package ecosystem in several ways.
- From the command line :
opam search <keyword>— find packagesopam show <keyword>— see details of a package- From the web:
Choose a build system
The first tool your OCaml project needs is a build system.
We are using Dune in this tutorial because it is the
most widely used build system in the OCaml ecosystem today. It is well
integrated with opam, supports both libraries and executables, and offers
fast incremental builds with dependency tracking. Most packages in the
opam-repository use dune as
their build system.
That said, OCaml also has other build tools, either still used in specific
contexts or maintained for compatibility - for example, ocpbuild, ocamlbuild,
topkg or just make and ocamlc combined. In some cases, these alternative
tools can feel more lightweight or straightforward, especially for very small
projects or when fine-grained control is needed. Choosing the right tool often
depends on your project’s scope and your familiarity with the ecosystem. For
most new development, however, dune remains the most common and actively
maintained choice.
If you happen to look for guidance or any kind of support for your OCaml developments, keep in mind that the Discuss OCaml Community Forum is the best place to engage with your peers!
We believe that introducing you to the current most common practices of the OCaml Community is a solid way to get you going.
You can expect us to cover in detail how to properly begin a project with
dunein upcoming blogposts.
A call to opam install will change the state of our current switch by
installing this build system:
$ opam install dune
You can now get to writing your first dune-project file. You may either refer
to the
documentation
or get some inspiration from the dune-project file we provide at the end of
this article!
Adding Command-Line Tools
Now onto finding a library to help us build a neat command-line interface for
helloer.
We know that the OCaml Standard Library ships an Arg
module which aims at allowing the parsing
of command-line arguments. However, it's quite limited and verbose. Instead,
we'll use opam search for something more ergonomic:
Using opam, a simple opam search with your keywords might help you
greatly:
$ opam search "command line interface"
# Packages matching: match(*command line interface*)
# Name                  # Installed # Synopsis
bap-byteweight-frontend --          BAP Toolkit for training and controlling Byteweight algorithm
clim                    --          Command Line Interface Maker
cmdliner                --          Declarative definition of command line interfaces for OCaml
dream-cli               --          Command Line Interface for Dream applications
hg_lib                  --          A library that wraps the Mercurial command line interface
inquire                 --          Create beautiful interactive command line interface in OCaml
kappa-binaries          --          Command line interfaces of the Kappa tool suite
minicli                 --          Minimalist library for command line parsing
ocal                    --          An improved Unix `cal` utility
ocamline                --          Command line interface for user input
wcs                     --          Command line interface for Watson Conversation Service
cmdliner is one of our favourite libraries for that matter so let's use it in
helloer.
Update the switch:
$ opam install cmdliner
Now is the time to implement your first command-line with cmdliner! You can
check how we did it for helloer
here
in the helloer.ml file. You may also refer directly to the cmdliner
library documentation!
$ ./helloer.exe
Hello OCamlers!!
$ ./helloer.exe --gentle
Welcome my dear OCamlers.
Adding a Test Library
Finally, before we get to coding our little project, we should consider adding a test library to our project. This will make writing tests much easier, less time-consuming and less tedious.
Again, calling opam search with one or several keywords will yield many
packages that pertain to testing OCaml binaries. Our selection for today will
be alcotest, a well-known and wide-spread option for conducting tests on
OCaml binaries.
$ opam search "test"
# Packages matching: match(*test*)
# Name                              # Installed # Synopsis
afl-persistent                      --          Use afl-fuzz in persistent mode
ahrocksdb                           --          A binding to RocksDB
alcotest                            --          Alcotest is a lightweight and colourful test framework
alcotest-async                      --          Async-based helpers for Alcotest
alcotest-js                         --          Virtual package containing optional JavaScript dependencies for Alcotest
alcotest-lwt                        --          Lwt-based helpers for Alcotest
alcotest-mirage                     --          Mirage implementation for Alcotest
[...]
Update the switch:
$ opam install alcotest
You can check out how we used it in helloer
here,
also refer to the
documentation
of the library for further exploration.
Run tour tests:
$ dune runtest
Testing `Tests'.
This run has ID `N39NJ5ZE'.

  [OK]          messages          0   normal.
  [OK]          messages          1   gentle.

Full test results in `~/ocamler/dev/helloer/_build/default/_build/_tests/Tests'.
Test Successful in 0.000s. 2 tests run.
Now that we have found and used our new tools, we need only to create a package
for helloer!
This means writing an opam file. Next section will cover what information go
into it.
Furthermore, the distribution of your newly developed package to the rest of
the OCaml Community on the opam-repository will be covered in the next opam
blog post!
Your first opam file
So how exactly does one write an opam file?
A minimal functional opam file
You will find below a minimal opam file for the helloer project.
This file is minimal in the sense that it is complete enough for you to work with your package on your local environment. However, there remains a few fields that we will explain in a moment and that are necessary for you to distribute your code.
$ cat helloer.opam
opam-version: "2.0"
depends: [
  "cmdliner"
  "ocaml"
  "alcotest" {with-test}
]
build: [
 [ "dune" "build" "-p" name ]
 [ "dune" "runtest" ] {with-test}
]
install: [ "dune" "install" ]
For now, there is enough information for opam to install and use your OCaml
project locally.
What are these fields for?
opam-version: "2.0":
- Specifies that this
opamfile uses syntax compatible withopam 2.0or later. - Required at the top of every
opamfile.
depends: [...]:
- Lists the packages that your project depends on. It lists all necessary
information to build your project, and to help
opamsuggest what other packages have to be installed prior to it.- You could optionally set lower or upper bound for specific version range
(e.g.,
cmdliner {>= "1.0.0"}), but omitting that is fine for a minimal file like this one.
- You could optionally set lower or upper bound for specific version range
(e.g.,
build: [...]:
- Tells
opamhow to build your project. ["dune" "build" "-p" name]: Builds the package.-p namemeans "build the part of the project with the same name as the opam package".namehere should match the actualopampackage name; it’s often replaced automatically byopaminternally.["dune" "runtest"] {with-test}: Runs the test suite, only if--with-testoption is passed (e.g. during CI or development).- You can fill up with any command here, it will be launched by opam in a sandboxed environment.
install: [...]:
- This tells
opamhow to install the built binaries and libraries into theopamenvironment. - Dune will install any libraries, executables, and other files you've marked
as
public_name.
That is it for the essential fields of an opam file. Now onto the
metadata fields which are required for you to later distribute your package
through the Official OCaml
opam-repository.
An
opamfile supports about thirty-ish valid fields to specify a package, again, you can look them all up here.
A real-world opam file with opam lint
What fields are mandatory for a proper opam package?
A good question, and the answer is simple since opam features a linting
command with opam lint.
This means that running this command on our small opam file will yield the
following message to help us make sense of what more is required to make our
newly developped package distributable:
$ opam lint .
/home/ocamler/dev/helloer/helloer.opam: Errors.
    error 23: Missing field 'maintainer'
  warning 25: Missing field 'authors'
  warning 35: Missing field 'homepage'
  warning 36: Missing field 'bug-reports'
    error 57: Synopsis must not be empty
  warning 68: Missing field 'license'
As you can see, some of these missing fields are considered errors, and others
are considered mere warnings. Each also come with a designated error code.
You can find all warning and error codes by either running the opam lint --help command in your terminal, or going to the corresponding opam
man page on the
interwebs.
Let's break each of them down and see how these linting errors can be fixed.
-
Error 23: Missing field
maintainer
What: Contact email for the package maintainer.
Example:maintainer: ["Your Name <hell@er.com>"] -
Error 57: Synopsis must not be empty
What: One-line description of your project.
Example:synopsis: "A simple and polite greeter in OCaml" -
Warning 25: Missing field
authors
What: List of project authors.
Example:authors: ["Your Name <hell@er.com>"] -
Warning 35: Missing field
homepage
What: URL to your project's website or repository.
Example:homepage: "https://github.com/OCamlPro/opam_bp_examples" -
Warning 36: Missing field
bug-reports
What: URL for reporting issues.
Example:bug-reports: "https://github.com/OCamlPro/opam_bp_examples/issues" -
Warning 68: Missing field
license
What: License under which your project is distributed.
Example:license: "ISC"
Now that you have linted an
opamfile manually, you will be very happy to learn thatdunecan actually automatically generate that file for you. Say for instance that you prefer the syntax of thedune-projectfile, you can letdunehandle it for you!
Here's what a complete dune-project file would look like for our little
helloer project.
(lang dune 3.15)

(name helloer)

(license ISC)

(authors "Your Name <hell@er.com>")

(maintainers "You Name <hell@er.com>")

(source
 (uri "https://github.com/OCamlPro/opam_bp_examples"))

(homepage "https://github.com/OCamlPro/opam_bp_examples")

(bug_reports "https://github.com/RadioPotin/ocamuse/issues")

(documentation "N/A")

(generate_opam_files true)

(package
  (name helloer)
  (synopsis "A simple and polite greeter in OCaml")
  (description
    "This is an example package for article 'opam 103' on OCamlPro's blog")
  (tags (greeter opam 103 tutorial beginner))
  (depends
    ocaml
    cmdliner
    alcotest
  )
)
Conclusion and what's next
At this point, our project is in great shape. We've seen how to setup your
local switch, integrate third-party libraries, run tests, and
write a minimal but functional opam file. With that foundation,
you’re ready to build and manage your OCaml projects locally with
confidence.
But writing code for yourself is only half the journey. The next step is sharing it with the world. In our next post, we’ll dive into how to publish your package to the official OCaml opam-repository — covering everything from the structure of an opam package submission, to working with the community through pull requests, versioning, opam-CI, and more.
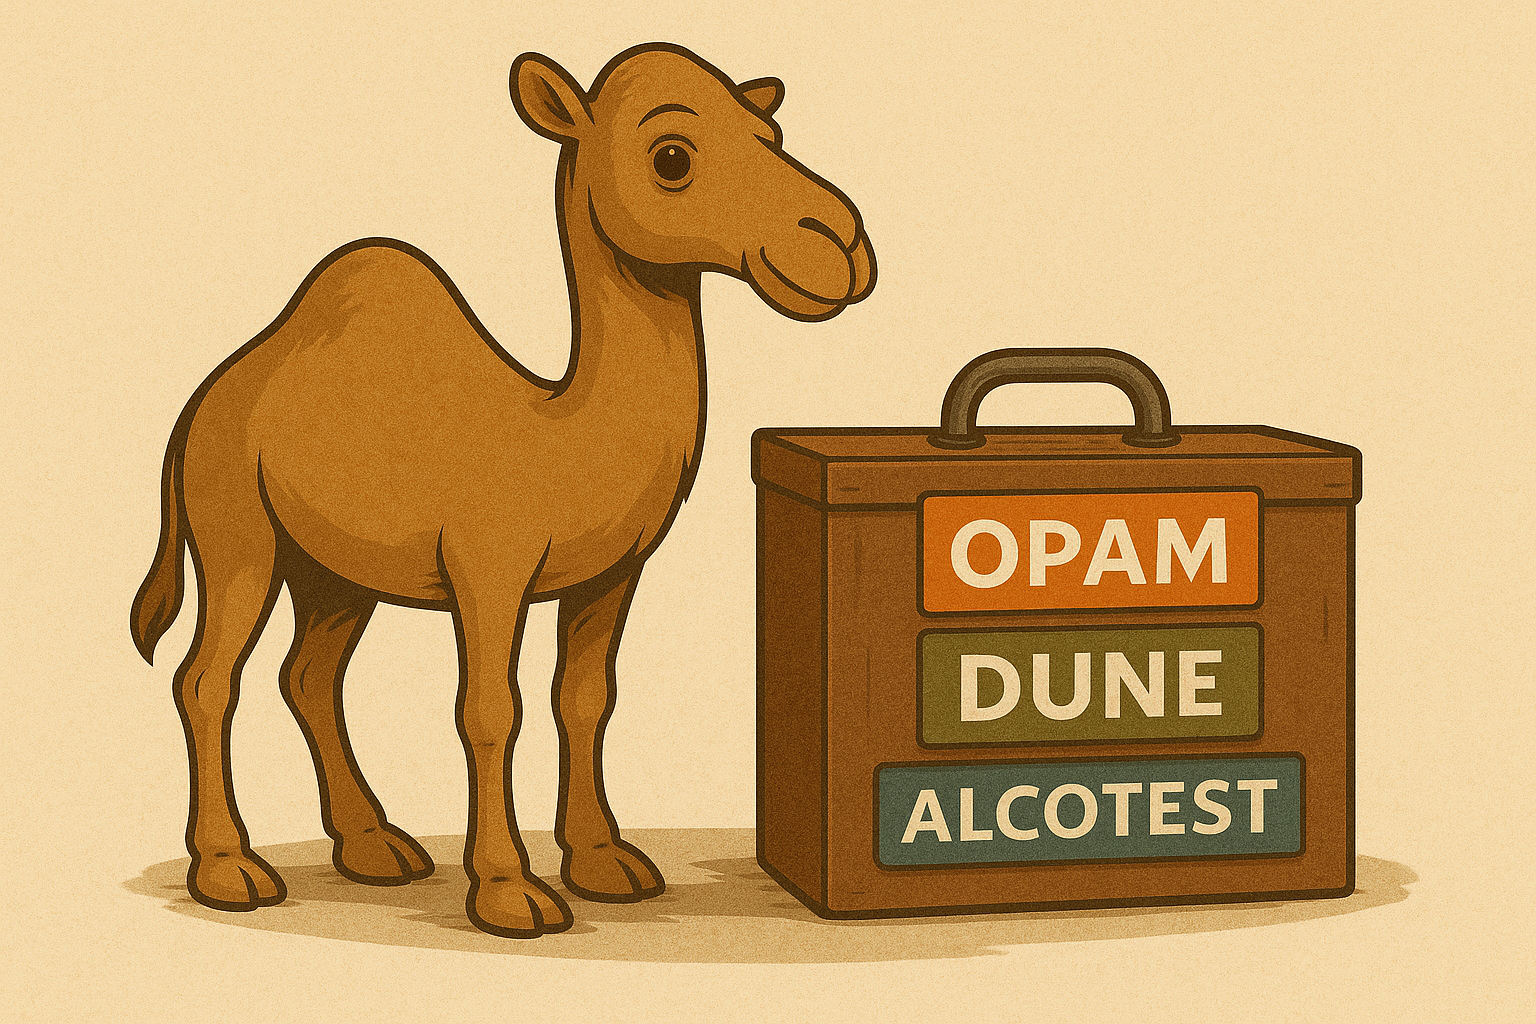
Thank you for trodding along the dunes with this little OCaml caravan of ours 🚶🚶🐫🐫🐫 — and until our next Oasis, happy hacking!
This article series was made possible thanks to the support of the OCaml Software Foundation. Thank you for helping us share knowledge with the OCaml community!
About OCamlPro:
OCamlPro is a R&D lab founded in 2011, with the mission to help industrial users benefit from experts with a state-of-the-art knowledge of programming languages theory and practice.
- We provide audit, support, custom developer tools and training for both the most modern languages, such as Rust, Wasm and OCaml, and for legacy languages, such as COBOL or even home-made domain-specific languages;
- We design, create and implement software with great added-value for our clients. High complexity is not a problem for our PhD-level experts. For example, we helped the French Income Tax Administration re-adapt and improve their internally kept M language, we designed a DSL to model and express revenue streams in the Cinema Industry, codename Niagara, and we also developed the prototype of the Tezos proof-of-stake blockchain from 2014 to 2018.
- We have a long history of creating open-source projects, such as the Opam package manager, the LearnOCaml web platform, and contributing to other ones, such as the Flambda optimizing compiler, or the GnuCOBOL compiler.
- We are also experts of Formal Methods, developing tools such as our SMT Solver Alt-Ergo (check our Alt-Ergo Users' Club) and using them to prove safety or security properties of programs.
Please reach out, we'll be delighted to discuss your challenges: contact@ocamlpro.com or book a quick discussion.
Most Recent Articles
2026
2025
2024
- opam 2.3.0 release!
- Optimisation de Geneweb, 1er logiciel français de Généalogie depuis près de 30 ans
- Alt-Ergo 2.6 is Out!
- Flambda2 Ep. 3: Speculative Inlining
- opam 2.2.0 release!
- Flambda2 Ep. 2: Loopifying Tail-Recursive Functions
- Fixing and Optimizing the GnuCOBOL Preprocessor
- OCaml Backtraces on Uncaught Exceptions
- Opam 102: Pinning Packages
- Flambda2 Ep. 1: Foundational Design Decisions
- Behind the Scenes of the OCaml Optimising Compiler Flambda2: Introduction and Roadmap